
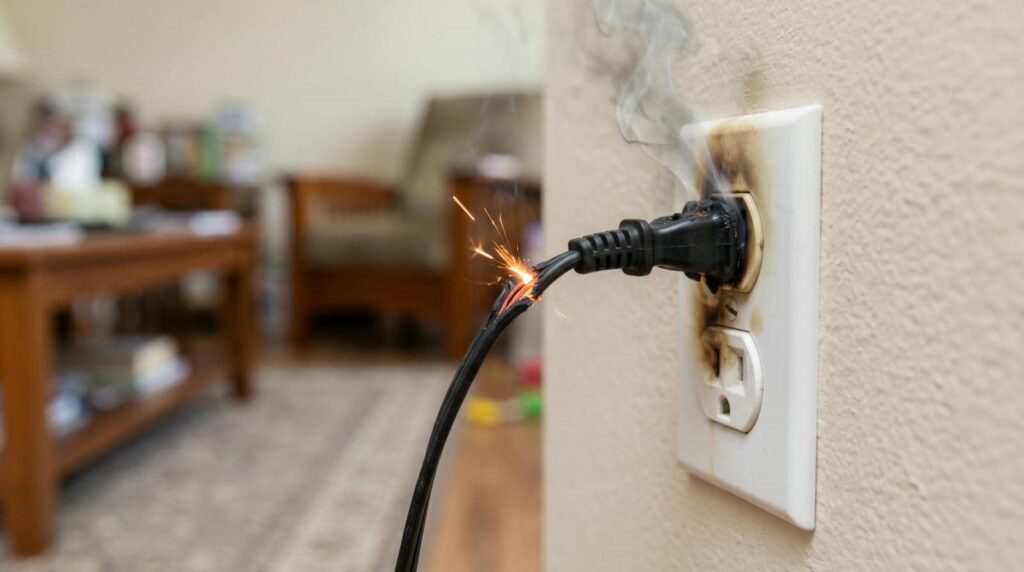
Do you really think fire damage restoration starts with demolition? You’ll usually begin with a careful safety inspection, then crews remove debris, damaged materials, and hazardous residue. They’ll clean soot from surfaces, control smoke odor, and dry out water left from firefighting. After that, they assess structural repairs, salvage contents when possible, and plan replacements for anything beyond recovery, but the full sequence isn’t always as simple as it seems.
Key Takeaways
- Inspect the property for structural damage, smoke penetration, water damage, and safety hazards, then document all losses.
- Remove debris and sort materials to separate salvageable items from unsalvageable fire-damaged contents.
- Clean smoke, soot, and odors using dry cleaning, wet cleaning, HEPA filtration, and deodorization methods.
- Extract standing water and dry affected areas with air movers, dehumidifiers, and moisture monitoring to prevent further damage.
- Repair or replace damaged structures and contents, then complete final cleaning and restoration for safe reoccupation.
Fire Damage Restoration Steps
The fire damage restoration process starts with a careful inspection of the affected area to assess structural damage, smoke penetration, and water damage from firefighting efforts.
Next, you’ll see technicians document losses, classify materials, and create a clear action plan that keeps your project moving. They remove charred debris, separate salvageable items, and protect areas that weren’t affected, so your space stays organized and controlled.
Then, they clean soot from surfaces, use specialized equipment to reduce lingering odors, and begin drying damp materials to prevent secondary damage.
Throughout the fire damage restoration process, you’re kept informed, supported, and included in each decision.
Finally, the team outlines repair priorities, helping you move from cleanup to restoration with confidence and a shared sense of progress.
Inspect the Damage and Check Safety
Once the restoration plan is in place, the team starts by inspecting the damage and checking for safety hazards before any cleanup begins.
You’ll see technicians document structural conditions, utility concerns, and hidden risks so you know the space is being handled with care. This careful assessment helps your team work confidently and keeps everyone aligned.
- They test for unstable surfaces and weakened framing.
- They identify electrical, gas, and water hazards.
- They evaluate soot patterns, heat exposure, and ventilation paths.
- They mark unsafe areas to guide the next steps.
Remove Debris and Damaged Materials
You’ll start by sorting materials on-site so you can separate salvageable items from those that are structurally compromised or contaminated by soot, ash, or water.
Next, you’ll remove fire-damaged debris carefully to clear access paths and reduce secondary contamination during cleanup.
Then you’ll dispose of unsalvageable materials in accordance with local waste and safety requirements so the restoration work can move forward efficiently.
Sorting Salvageable Materials
Anything that survived the fire still needs a careful check before removal begins. You’ll sort items with your restoration team, separating material that can stay from pieces that need to go. This step helps you protect what’s still useful and keep your space organized.
You inspect framing, drywall, furniture, and contents for heat, smoke, and moisture damage.
You tag salvageable items so your crew can move them safely and keep them together.
You isolate weakened materials that could shed soot or create hazards during cleanup.
You document each category so you and your team stay aligned on what remains in place.
When you handle sorting methodically, you keep the process controlled and make room for the next restoration steps.
Disposing Fire-Damaged Debris
After salvageable items are identified, you can begin clearing out fire-damaged debris so the restoration team can work safely and efficiently.
You’ll remove charred drywall, insulation, flooring, and any items that can’t be cleaned or structurally stabilized. Use sealed containers or heavy-duty bags to keep soot, ash, and broken materials from spreading through the property.
Your team should wear gloves, respirators, and protective clothing because debris can contain sharp edges and hazardous residue.
You’ll also separate recyclables, hazardous waste, and nonrecoverable materials for proper disposal under local regulations.
Prompt removal helps reduce odor, limits further corrosion, and opens access for smoke cleanup and repair work.
When you handle this step methodically, you help restore a cleaner, safer space for everyone involved.
Clean Smoke and Soot From Surfaces
You’ll clean smoke and soot from surfaces using the right method for each material, since porous, painted, and metal finishes all respond differently to moisture and abrasion.
Start with dry soot removal techniques, then apply controlled wet cleaning or specialty detergents to lift residue without spreading it or setting stains.
Careful surface cleaning reduces odor, protects finishes, and prepares your space for the next restoration step.
Surface Cleaning Methods
Before you clean, assess how heat, smoke, and soot have affected each surface, because the right method depends on the material and the type of residue present. You’ll feel more confident when you match your cleaning approach to painted drywall, sealed wood, metal, or tile.
Use dry microfiber cloths for light contamination, then progress to pH-balanced cleaners that won’t dull finishes. Keep your strokes gentle and work from the cleanest area toward the dirtiest so you don’t spread residue.
- Test cleaners in a hidden spot.
- Change cloths often to avoid smearing.
- Rinse and dry surfaces promptly.
- Ventilate rooms to support faster drying.
Soot Removal Techniques
When soot is loose and dry, you can remove it safely with the right combination of dry and wet cleaning methods.
You should first vacuum surfaces with a HEPA unit to lift fine particles without spreading them. Then, use dry sponges on painted walls, ceilings, and trim, moving in straight passes and turning the sponge often.
For stubborn residue, apply a pH-neutral cleaner to a microfiber cloth, not directly to the surface, so you control moisture. Test a small area first, especially on delicate finishes.
Wipe from the outside in to avoid streaks, and rinse with clean water when needed. As you work, you’re protecting your home and helping your space feel like yours again.
If soot has penetrated porous materials, you may need professional restoration to restore them fully.
Control Odors and Purify the Air
Smoke and soot often leave persistent odors, so the restoration team uses targeted deodorization and air purification to improve indoor air quality.
You’ll notice technicians first identify odor sources, then match treatments to affected materials and airflow patterns. Their approach helps you feel confident that your space is being cared for with precision and respect.
- They place HEPA air scrubbers to capture fine particles.
- They run negative air machines to limit odor spread.
- They apply thermal or hydroxyl deodorization to neutralize residues.
- They use sealants on porous surfaces when needed.
These steps work together to reduce lingering contamination and make your home feel fresh again.
You’re not just getting cleaner air—you’re regaining a healthier, more welcoming environment for everyone who belongs there.
Handle Water Damage After Firefighting
After firefighting, you need to extract standing water quickly to limit structural swelling, corrosion, and microbial growth.
You’ll then dry affected materials with targeted airflow and dehumidification to pull moisture out of walls, floors, and framing.
This step helps stabilize the property and prepares it for the next phase of restoration.
Water Extraction
Water often remains in a fire-damaged property after suppression efforts, so you’ll need to extract it quickly to prevent secondary damage. You’re not dealing with surface puddles alone; water can migrate into cavities, under flooring, and behind walls, so you should remove it with professional pumps and vacuums.
You document affected areas before extraction starts.
You target pooled water first, then saturated materials.
You use weighted tools to lift trapped moisture from carpets and pads.
You verify that water no longer wicks into adjoining spaces.
This step helps your restoration team stabilize the site and protect your structure from avoidable deterioration.
When you act fast, you join a process built to limit loss, preserve materials, and move your property toward recovery with confidence and care.
Drying And Dehumidifying
With the excess water removed, you’ll need to dry the structure thoroughly and control humidity before hidden moisture causes additional damage.
You’ll place air movers to increase evaporation, then run commercial dehumidifiers to pull vapor from the air and surfaces. Technicians monitor moisture levels in framing, drywall, insulation, and subfloors with meters, adjusting equipment until readings return to safe targets.
This step helps you prevent warping, corrosion, mold growth, and lingering odors after firefighting. You may also open cavities, remove saturated materials, and isolate affected rooms so drying stays efficient.
As you work through restoration, you’re not alone; each measurement gives your team a clear path toward a stable, healthy home. Consistent drying protects repairs and prepares the space for cleanup and rebuilding.
Repair Structural Damage
Repair teams assess and rebuild damaged structural elements to restore your property’s safety and stability.
You’ll see technicians verify framing, joists, studs, and load-bearing connections before they begin targeted repairs. They document damage, match repair methods to the building’s design, and coordinate each step so your home stays secure and familiar.
- They reinforce weakened members to regain proper support.
- They realign warped framing to correct stress points.
- They restore sheathing, subfloors, and roof decking where fire compromised strength.
- They confirm every repair meets code and project specifications.
This process helps you feel confident that your space is being brought back with care, precision, and respect for the place you call yours.
Replace Unsalvageable Materials
Once technicians confirm which fire-damaged materials can’t be cleaned or stabilized, they remove and replace them to prevent lingering safety and indoor air quality issues.
You’ll see them cut out charred drywall, warped trim, compromised insulation, and any materials that keep holding soot, moisture, or smoke odor. They work in controlled sections, so your home stays protected while the damaged areas are cleared.
Before installing new material, they verify framing, wiring, and subfloors are sound, then match replacement products to existing specs for a seamless fit.
This step restores strength, helps block hidden contamination, and prepares your space for finishing work. You can feel confident knowing the process targets what can’t be saved and supports a healthier, more stable home for you and your household.
Clean and Salvage Contents
Technicians sort your contents into salvageable, cleanable, and unsalvageable items, then move the recoverable pieces to a controlled area for treatment.
You’ll see them document each item, label it, and use methods matched to the material and damage level. This careful triage helps protect valuables and reduces unnecessary loss, so you stay included in every decision.
Vacuum loose soot from fabric, paper, and hard surfaces.
Wash nonporous items with approved detergents and mild agitation.
Deodorize contents with targeted air and filtration treatments.
Pack cleaned items in clean, sealed materials for safe return.
If an item needs specialized handling, the team will explain why and keep you informed.
That steady process gives you confidence that your belongings are being restored with skill and respect.
Plan the Final Repairs
With the site cleaned and contents handled, your restoration team can map out the final repairs needed to return the property to pre-loss condition.
They’ll document structural damage, replace compromised drywall, insulation, framing, and flooring, and verify that electrical, plumbing, and HVAC systems are safe before rebuild work starts.
Your contractor will also match finishes, paint, and trim so the repaired areas blend naturally with the rest of your space.
If smoke or heat reached hidden cavities, they’ll inspect and seal those areas first to prevent lingering issues.
You’ll receive a clear scope, timeline, and cost estimate, so you know what comes next.
This step helps your home feel whole again, and you’re not managing it alone.
Frequently Asked Questions
How Long Does Fire Damage Restoration Usually Take?
Usually, you’ll need a few days to several weeks, depending on damage severity. You’ll get inspection, debris removal, smoke cleanup, odor control, and repairs, all while your team works to restore your space safely.
Will My Insurance Cover Fire Restoration Costs?
Usually, yes—your policy may cover fire restoration, like a shield after the storm. You’ll review limits, deductibles, and exclusions, then file promptly; your adjuster can help confirm covered cleanup, repairs, and smoke mitigation.
Can I Stay in My Home During Restoration?
You can sometimes stay, but you’ll need to assess safety first. If crews find smoke, soot, structural damage, or hazards, you’ll likely relocate temporarily while they restore your space and protect your health.
How Do Professionals Determine Salvageable Items?
You’ll see scorched beside spared, and professionals inspect each item’s material, heat exposure, smoke staining, and structural integrity. They document, categorize, and test-clean belongings, then explain what can rejoin your home safely.
What Certifications Should a Fire Restoration Company Have?
You should look for IICRC certification, especially Fire and Smoke Damage Restoration (FSRT), plus EPA lead-safe credentials and local contractor licensing. You’ll feel confident when technicians also carry insurance, training records, and safety certifications.
Summary
In the end, you watch a burned room become a site of recovery: what looked ruined is inspected, cleaned, dried, repaired, and rebuilt. You’ll see soot vanish from surfaces, odors pulled from the air, and damaged materials replaced with safer ones. Ironically, fire leaves behind a mess that forces order, and that’s exactly what restoration delivers. By the final repairs, you’re not just fixing damage you’re restoring safety, structure, and usable space.