
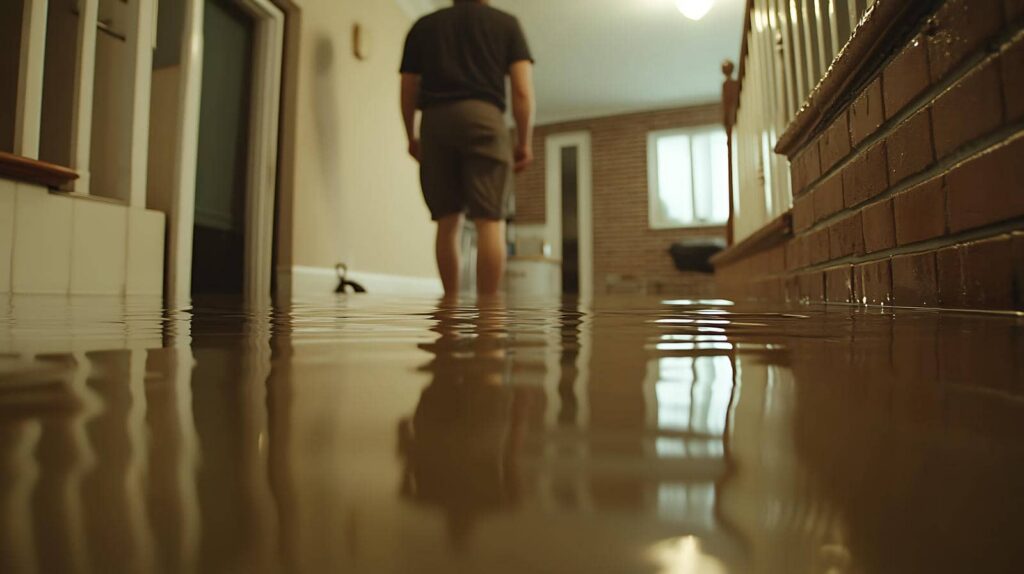
Flood Damage Cleanup begins with acting quickly to protect your property and reduce further damage. After a flood, shut off the power and gas if it’s safe to do so, document the damage for insurance purposes, and begin removing standing water with pumps or a wet vacuum. Next, dry walls, floors, and furniture as quickly as possible to help prevent mold growth. The final step is determining which materials can be restored and which require professional flood damage cleanup and replacement to ensure your property is safe and fully recovered.
Key Takeaways
- Turn off electricity and gas if safe, avoid damaged areas, and document visible storm damage with photos.
- Remove standing water using pumps, wet vacs, or buckets, working from highest pooling areas to lowest.
- Dry the property quickly with dehumidifiers and airflow, and inspect hidden spaces for trapped moisture.
- Sort belongings by salvage value, keeping clean nonporous items and isolating moldy, soaked, or warped materials.
- Call professionals for widespread flooding, structural damage, contaminated water, or persistent odors and hidden moisture.
First Steps After a Flood
After a flood, your first priority is safety: turn off electricity and gas only if you can do so without entering standing water, then avoid affected areas until they’re declared safe.
Once you’re outside immediate danger, document visible damage with photos from a safe distance. Contact your insurer and local authorities to report losses and confirm access restrictions.
If you can reach your home without risk, open windows only if weather allows, and note any odors, structural shifts, or contamination. Keep children and pets away from debris and runoff.
Gather protective supplies, such as gloves, boots, and masks, before starting storm flood damage cleanup. When you stay organized and cautious, you protect your household and help your recovery team move efficiently together.
Start Flood Cleanup Safely
Once you’ve secured the area and gathered basic protective gear, begin flood cleanup with a safety check of the structure, air quality, and utilities. You’re protecting your team and your home when you move deliberately and verify conditions before any work starts.
Look for sagging ceilings, cracked walls, shifting floors, gas odors, and exposed wires. If anything seems unstable, step back and call a qualified professional.
- Shut off power only if you can reach the main switch without entering water.
- Ventilate the space if outdoor air is safe and you can open windows.
- Record visible damage so you and your helpers can track hazards and progress.
Stay calm, communicate clearly, and keep everyone aligned. That careful start helps your cleanup crew work with confidence and trust.
Remove Standing Water
Use pumps, wet vacs, and buckets to remove standing water as quickly as possible, because the longer water sits, the more it soaks into walls, flooring, and contents.
Work from the highest level of pooling to the lowest, and empty containers before they overflow. If electricity is still off, use battery-powered or manual tools until a licensed professional verifies safety.
Push water toward drains when you can, but don’t force debris into pipes. Check closets, under appliances, and behind doors, because trapped water can hide in shared spaces.
Keep your path clear so you can move steadily and safely. As you work together, you’ll limit structural damage, reduce cleanup time, and help your home recover with less stress.
Dry Walls, Floors, and Furniture
After you remove standing water, you need to pull moisture from walls by opening cavities, using air movement, and monitoring moisture levels until materials stabilize.
You can dry floors with targeted airflow, dehumidification, and, if needed, selective removal of wet underlayment to speed evaporation and prevent hidden damage.
For furniture, you should lift items off damp surfaces, separate cushions, and dry each component thoroughly to reduce contamination and limit permanent warping.
Wall Moisture Removal
Drying the structure quickly limits further damage and reduces the risk of mold, rot, and material failure. You should remove wall moisture by opening cavities, exposing damp surfaces, and keeping airflow steady.
Use moisture meters to verify that you’ve reached safe levels, not just dry-looking finishes. If you act fast, you’ll protect shared spaces and help everyone feel at ease in the home again.
- Measure suspect walls at multiple heights and compare readings to unaffected areas.
- Remove soaked insulation and any compromised baseboard or trim that traps water.
- Keep indoor humidity low so wall materials can release moisture efficiently.
You can also inspect behind cabinets, around outlets, and near plumbing penetrations, since hidden pockets often stay wet longer.
Floor Drying Methods
Once the bulk water is removed, you should start floor drying immediately to limit swelling, warping, and hidden moisture migration into walls and furniture.
You can use weighted squeegees, absorbent pads, and high-velocity air movers to pull moisture from carpet, hardwood, tile grout, and subflooring.
Set dehumidifiers to keep indoor humidity low, and leave baseboards open where needed so trapped dampness can escape.
Check cold spots with a moisture meter; they often signal deeper saturation.
For layered flooring, lift edges only when needed so you don’t spread contamination.
Keep pathways clear, maintain airflow across every affected zone, and monitor progress until readings stabilize.
When you follow this process, you’re protecting your home with the same careful, expert-minded approach your recovery team uses.
Furniture Drying Steps
Now move to furniture drying by separating damp pieces from walls and floors so air can reach every surface. You’ll keep your cleanup team safe by removing cushions, drawers, and loose hardware, then standing each item on blocks.
Use fans and dehumidifiers to push dry air across joints, fabric, and hidden seams. Wipe visible moisture with clean towels, and check for swelling, warping, or odor that suggests contamination.
- Lift wood furniture onto risers to prevent wicking.
- Open cabinets, drawers, and upholstered panels for airflow.
- Monitor moisture until readings match room conditions.
If you find saturated particleboard, treat it as unsalvageable and replace it promptly.
With steady drying, you’ll protect your home and help everyone feel confident again.
Clean and Disinfect Flooded Areas
After floodwater recedes, you should clean and disinfect every affected surface to remove mud, silt, and contaminants that can cause health risks and ongoing damage.
Wear gloves, boots, and eye protection, then remove loose debris and wash hard surfaces with clean water and detergent. Scrub corners, seams, and textured areas where residue can hide. Rinse thoroughly, then apply a disinfectant labeled for flood cleanup, following the contact time on the product instructions.
Keep rooms ventilated while you work, and replace contaminated rags, sponges, and mop heads as you go. Clean tools and work from the least soiled area to the most soiled.
Check for Mold After Flooding
Mold can start growing within 24 to 48 hours of flooding, so you should inspect damp areas as soon as surfaces are clean and safe to access. You’re not alone in this step; careful checks help protect your home and everyone in it.
Look for discoloration, musty odors, and soft, warped materials in walls, floors, and hidden corners.
- Check baseboards, drywall seams, and under sinks.
- Use a flashlight to inspect closets, vents, and behind appliances.
- Mark any suspect area for professional evaluation if it keeps returning damp.
Keep humidity low and keep airflow moving so spores don’t spread. If you spot visible growth, treat the area as contaminated and clean it promptly with appropriate protective gear.
Quick, thorough inspection reduces risk and helps your space recover safely.
Save Belongings You Can Salvage
You should sort belongings quickly into salvageable, questionable, and unsalvageable groups to limit further damage.
Prioritize items that are non-porous, structurally intact, and free of visible contamination, since these can often be cleaned and dried.
If you act methodically, you’ll recover what you can while reducing the risk of mold and contamination spreading.
Quick Item Sorting
Sort belongings fast and separate salvageable items from those that need disposal to limit further damage. You’ll protect your space, reduce clutter, and make cleanup feel manageable.
Work room by room and keep categories simple: dry, damp, and ruined. Use gloves and sturdy bins so you can handle items safely without slowing down. Tag anything with visible mold, warping, or soaked insulation for removal, and set aside intact items that only need surface drying or cleaning.
- Place important documents and photos in a clean, dry container.
- Group washable textiles away from porous materials.
- Move electronics and coated furniture to a stable, ventilated area.
Stay methodical; quick sorting gives you a clear path forward and helps your home recover with less loss.
Salvage Priority Steps
Once you’ve separated the worst-damaged items, focus first on belongings with the highest recovery value and the lowest contamination risk.
You should salvage clean, nonporous items like metal tools, sealed plastics, and intact glass before you handle fabric or upholstered pieces. Move each item to a dry, ventilated area, then rinse off mud with clean water if needed.
Don’t stack wet objects; airflow helps prevent secondary damage. Photograph everything before cleaning so you can document losses and track what you keep.
Inspect for odors, staining, and structural damage as you work. If an item touched sewage, petroleum, or mold, set it aside for professional review.
Careful triage keeps your safe, restorable possessions with you, and helps you regain control faster.
Check Electrical and Structural Damage
Before reentering a flood-damaged property, inspect the electrical system and structural components for immediate hazards. You can protect your crew and home by looking for warped framing, sagging floors, cracked masonry, and shifted supports.
Shut off power at the main panel if you suspect moisture in outlets, breakers, or wiring. Then document damage with clear photos for your records.
- Check walls, ceilings, and beams for bulging or separation.
- Test floors for soft spots, bounce, or uneven load-bearing.
- Verify that service panels, cords, and fixtures stay dry and intact.
Stay alert for corrosion, scorch marks, and musty odors near electrical points. If anything feels unstable, isolate the area and keep everyone together while you confirm conditions.
Your careful assessment helps your team move forward safely and confidently.
When to Call Flood Cleanup Help
If your inspection turns up widespread water intrusion, hidden structural movement, or any sign of contaminated floodwater, you should call professional cleanup help right away.
You’ll want experts when water has soaked insulation, drywall, or subflooring, when odors persist after ventilation, or when stains, swelling, or cracking suggest deeper damage.
If floodwater came from sewage, storm runoff, or unknown sources, don’t handle it alone; contamination can spread quickly through your home.
A trained crew can extract water, dry materials, sanitize affected areas, and document losses for insurance.
Calling early also limits mold growth and reduces repair costs.
If your household feels uncertain about safety, trust that instinct.
You’re not overreacting—you’re protecting your space, your health, and the people who belong there.
Frequently Asked Questions
How Do I Document Flood Damage for an Insurance Claim?
You’ll document flood damage by photographing everything, listing damaged items, noting dates, and keeping receipts. Save wet materials if safe, report losses promptly, and share detailed records with your insurer for faster, fairer claim review.
What Items Should Be Discarded Immediately After Sewage Contamination?
You should discard porous items soaked by sewage: carpets, carpet pads, upholstered furniture, mattresses, pillows, paper goods, and contaminated food. Hard, nonporous items can often be disinfected. You’re protecting your space and your people.
Can Floodwater Affect My Home’s Foundation Long-Term?
Yes, floodwater can weaken your foundation long-term by saturating soil, increasing pressure, and causing settlement or cracks. You’ll want a structural inspection, prompt drying, and drainage corrections to protect your home and restore peace of mind.
How Soon Should I Replace Soaked Insulation After Flooding?
Replace soaked insulation immediately—within 24 to 48 hours. You’ll prevent mold, odors, and hidden contamination. Even if it looks dry, flooded insulation traps moisture, so you should remove and replace it fast.
What Permits Are Needed for Major Flood Repairs?
You’ll usually need building, electrical, plumbing, and mechanical permits for major flood repairs, plus demolition or structural permits if you’re altering framing. Your local building department can confirm requirements, help you comply, and keep work moving.
Final Thoughts
After heavy rain, you can recover faster by moving in a clear order: stay safe, remove water, dry everything, and disinfect thoroughly. Watch for mold, salvage what you can, and inspect electrical and structural damage before reentering fully. If the cleanup feels too large, call flood cleanup help early. Acting quickly is your best defense; time is the tide that can either help you or worsen damage. Stay calm, stay methodical, and keep records for insurance.