
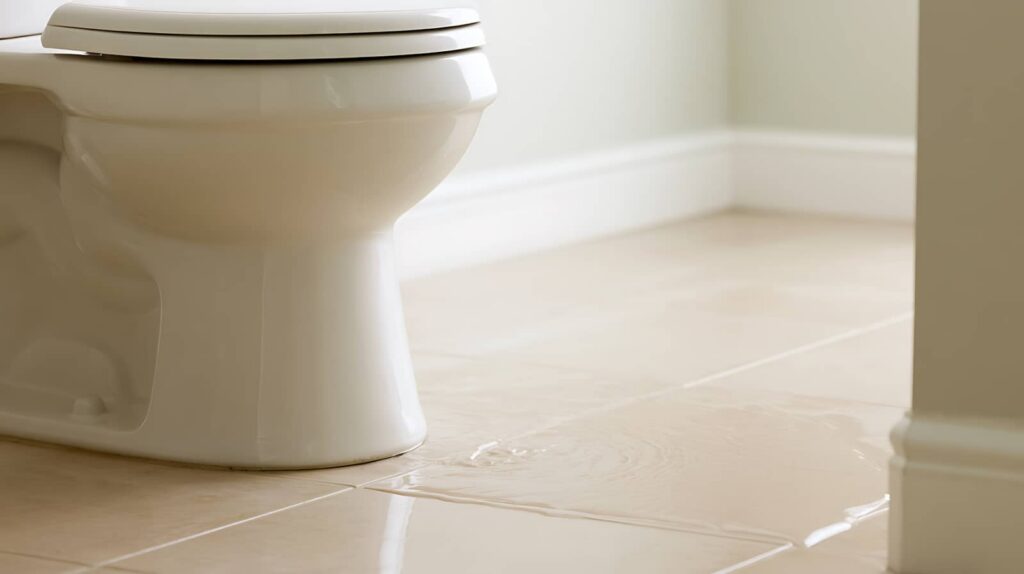
After a sewage backup, you need to act fast to limit contamination and structural damage. Sewage Damage Restoration Steps include shutting off water, restricting access, removing porous materials, and disinfecting all affected surfaces before drying the area completely. Hidden moisture can still fuel mold and odor problems, so you’ll need to check behind walls and under flooring. The right sequence matters here, and the next step often determines whether the space is fully recoverable.
Key Takeaways
- Stop using affected plumbing, keep people and pets away, and shut off power to wet areas if safe.
- Wear gloves, boots, and a mask, then document damage and call a qualified sewage cleanup provider quickly.
- Contain the area with closed doors or plastic sheeting and notify building management if the backup is shared.
- Remove contaminated materials, disinfect surfaces, and use HEPA filtration plus moisture meters to control contamination.
- Dry thoroughly with dehumidifiers and air movers, then repair damaged materials and inspect for hidden moisture or structural issues.
What to Do Right After a Sewage Backup?
Right after a sewage backup, you should stop using the affected plumbing, keep people and pets out of the area, and shut off electricity to any wet spaces if you can do so safely.
Next, put on protective gloves, boots, and a mask before you enter. If sewage has spread, limit foot traffic so you don’t track contaminants farther.
Take photos of visible damage for your records and for your restoration team. Then contact a qualified cleanup provider right away; fast response reduces health risks and helps your sewage damage restoration steps stay on track.
Don’t disturb soaked materials unless you must move them to prevent more spread. Stay in a dry, clean area and wait for guidance.
Working with trained professionals helps you protect your home and your household.
Shut Off Water and Block the Area
Shut off the main water supply as soon as you can safely reach it to stop additional sewage from entering the property.
Next, cut power to affected rooms if water may contact outlets, appliances, or wiring.
Then block the area with closed doors, plastic sheeting, or tape so family members, guests, and pets stay out.
Post a simple warning at every entry point and tell everyone in your household why the restriction matters.
Keep the space contained to limit tracking contamination through clean areas and to support a faster professional response.
If the backup came from a shared line or apartment system, alert building management right away.
Clear boundaries help your team stay safe, protect the rest of the property, and prepare for the next restoration step.
Remove Sewage-Soaked Materials
Start removing sewage-soaked materials as soon as the area is safe to enter, because porous items can trap contaminants and spread odor and bacteria.
You should wear gloves, boots, eye protection, and a respirator before you touch anything.
Bag and label contaminated carpet, padding, insulation, drywall, upholstered furniture, mattresses, and paper goods for disposal.
Cut flooring and wallboard back to clean, dry edges if sewage has wicked into them.
Move salvageable items to a clean, dry zone only after you’ve isolated them from waste.
Don’t drag debris through uncontaminated rooms; carry it out in sealed bags or wrapped bundles.
Work methodically so your team can track what’s removed and what remains.
This keeps the job organized, limits cross-contamination, and gets your space ready for the next restoration step.
Clean and Sanitize Contaminated Surfaces
Once the contaminated materials are out, you can clean and sanitize every exposed surface to remove remaining sewage residue and reduce the risk of infection.
Wear gloves, eye protection, and a respirator before you start. Scrub hard surfaces with hot water and detergent, then rinse with clean water.
Apply an EPA-registered disinfectant that’s labeled for sewage cleanup, and keep the surface wet for the full contact time. Focus on floors, baseboards, cabinets, counters, and any fixtures that touched wastewater.
Use separate cloths for dirty and clean areas so you don’t spread contamination. If you’re cleaning a team space, work methodically and check each zone twice.
When you finish, dispose of used materials in sealed bags and wash your hands thoroughly.
Dry Floors, Walls, and Air
After cleaning and disinfecting, dry the area as quickly as possible to prevent mold growth and further material damage. You should pull standing water with a wet vacuum, then run high-capacity air movers across floors and lower walls.
Open windows only if outdoor air is dry and safe; otherwise, use dehumidifiers to control humidity and speed evaporation. Remove baseboards and lift wet carpeting or pads so trapped moisture can escape.
Keep HVAC off until ducts are checked and clean; then circulate conditioned air to support drying. Aim for steady airflow, warm temperatures, and low relative humidity.
In a well-managed cleanup, you’re not just drying surfaces—you’re helping your home recover with your crew. Keep equipment running continuously until all visible moisture is gone and materials feel dry to the touch.
Check for Hidden Moisture and Mold
Even when floors and walls feel dry, sewage can leave moisture trapped behind trim, under flooring, and inside wall cavities. You need to verify every concealed area with a moisture meter and, when needed, a borescope or infrared scan.
Check baseboards, insulation, subfloor seams, drywall bottoms, and cabinet backs for elevated readings, staining, swelling, or soft spots. If you find damp materials, remove them quickly so hidden water doesn’t keep feeding microbial growth.
Look for early mold signals such as spotting, fuzz, or a musty smell from enclosed spaces. You’re not overreacting by reopening suspect areas; you’re protecting your home and your crew.
Document findings, mark affected zones, and keep drying equipment running until readings match unaffected material.
Treat Sewage Odors
You need to remove every odor source first, because sewage smells won’t clear until contaminated materials, residues, and hidden waste are fully eliminated.
After source removal, you can apply targeted deodorizing treatments to affected surfaces, air spaces, and porous materials to neutralize remaining compounds.
Use proven odor-control methods only after thorough cleaning and drying, or the smell can persist and return.
Odor Source Removal
To eliminate sewage odors effectively, restoration crews must first remove the source of the smell, not just mask it. You need every contaminated material that soaked up waste gone: porous drywall, insulation, carpet pad, baseboards, and any debris trapped in joints or cavities.
Technicians should inspect subfloors, wall voids, and hidden seams, then cut out affected sections until they reach clean, dry, sound material. If sewage entered cabinets or structural framing, those areas must be opened and cleaned thoroughly.
You’ll get better results when you act fast, because lingering organic residue keeps releasing odor. A proper removal plan also includes safe bagging, sealed transport, and disposal that follows local rules.
When the source is gone, your cleanup team can restore a healthier, more comfortable space for everyone.
Deodorizing Treatments
After source removal, deodorizing treatments target any remaining sewage-related odor that can linger in porous framing, subfloors, and hidden cavities.
You should start with thorough drying, because trapped moisture keeps odor compounds active.
Then you can apply EPA-registered antimicrobial deodorizers to affected surfaces, following label dwell times and ventilation requirements.
For deeper contamination, use hydroxyl or ozone treatment only when the space is vacant and controlled by a qualified technician.
You may also seal cleaned structural wood with odor-blocking encapsulants once it’s fully dry.
If ducts, insulation, or subfloor voids still smell, you’ll need targeted fogging or material replacement.
When you handle each step methodically, you protect your home, reduce relapse risk, and get back to a clean, livable space together.
Repair Floors, Drywall, and Fixtures
Once cleanup, sanitizing, and drying are complete, repair work can begin on any materials that sewage has permanently damaged. You should remove warped flooring, soft subflooring, swollen baseboards, and drywall that stayed wet too long.
Cut back damaged drywall to clean, dry edges, then replace insulation if it was contaminated. Install matching plywood, tile, or resilient flooring only after the underlayment is sound and moisture readings are safe.
Refit trim, cabinets, and fixtures that were removed, checking for corrosion, loosened fasteners, and hidden residue. Seal repaired seams, patch joints, and prime exposed surfaces before finish painting.
Call Sewage Cleanup Pros When Needed
If the sewage damage is extensive, contaminated by black water, or has spread into walls, crawl spaces, HVAC systems, or electrical components, you should call a licensed sewage cleanup professional right away.
You’ll protect your home and your crew by bringing in technicians who can isolate the area, remove hazardous waste, and follow biohazard protocols. They use commercial extractors, antimicrobial agents, HEPA filtration, and moisture meters to verify the space is safe.
If you smell persistent odor, see warped framing, or can’t access hidden cavities, don’t guess. A pro can document losses for insurance and coordinate repairs with your restoration team.
When you act fast and work with trusted experts, you stay in control and move toward a clean, healthy home.
Frequently Asked Questions
How Long Does Sewage Contamination Remain Hazardous?
Sewage contamination stays hazardous until you remove it, disinfect surfaces, and dry materials completely; pathogens can linger for days to weeks. You shouldn’t assume it’s safe until a professional confirms cleanup, sanitization, and moisture control.
Is Homeowners Insurance Likely to Cover Sewage Backup Damage?
Usually, you’ll need a separate sewer or water backup endorsement; standard homeowners policies often exclude it. Check your declarations page, then file promptly, document damage, and ask your adjuster exactly what’s covered.
Can I Stay in My Home During Sewage Cleanup?
Usually, you shouldn’t stay; sewage cleanup can spread like wildfire through your air and surfaces. You’ll need professionals to remove waste, sanitize, dry, and test conditions before you safely return home and feel confident.
What Health Symptoms Suggest Sewage Exposure?
You may notice nausea, vomiting, diarrhea, fever, headaches, coughing, skin rash, eye irritation, or breathing trouble. If you develop these after exposure, you should leave the area, wash thoroughly, and get medical care quickly.
Do I Need Permits for Major Sewage Damage Repairs?
Yes—you usually need permits for major repairs. Why gamble with hidden sewer damage? You’ll want your contractor to verify local codes, pull approvals, and document work so you stay protected, compliant, and included.
Wrap-Up
After a sewage backup, act fast: shut off water, block the area, and remove contaminated materials safely. Clean and sanitize all affected surfaces, then dry floors, walls, and air completely to reduce mold risk. Check for hidden moisture, treat lingering odors, and repair damaged materials. If the cleanup feels overwhelming, call sewage restoration pros. Your quick response can prevent a small mess from turning into a full-blown disaster.