
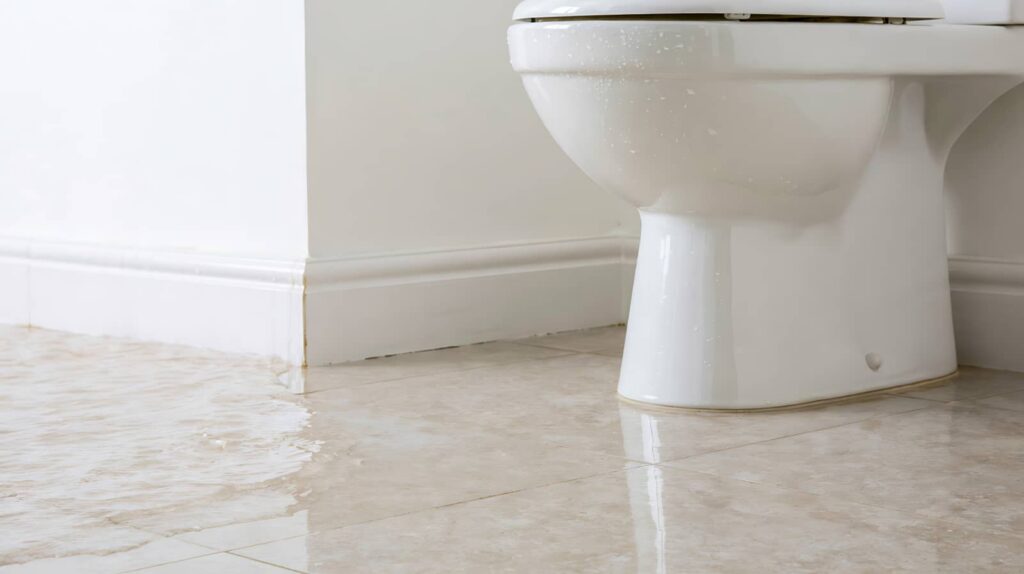
Most basement water damage claims involve sewer or drain failures, and you need to act fast when it happens. Basement Sewage Backup Cleanup starts by isolating the area, stopping HVAC circulation, and removing sewage with proper equipment before contamination spreads. Then you’ll disinfect, dry, and inspect hidden cavities for residual damage, because one missed step can leave you facing mold, odors, or code issues that don’t show up until later.
Key Takeaways
- Stop the source if safe, shut off basement HVAC, and isolate the contaminated area with plastic sheeting and warnings.
- Wear gloves, boots, and eye protection before handling sewage-soaked materials or barriers.
- Pump out sewage, remove solids and debris, and clean all affected surfaces with approved cleaners.
- Disinfect with an EPA-registered product and required contact time, then dry the basement immediately.
- Call a sewage cleanup professional if contamination is widespread, odors persist, or sewage reached walls, insulation, or flooring.
What Causes a Basement Sewage Backup?
A basement sewage backup usually occurs when the main sewer line, branch drain, or building drain becomes obstructed, damaged, or overwhelmed. You may also face it when tree roots infiltrate joints, grease accumulates, pipe sections collapse, or heavy rainfall exceeds system capacity.
If a backwater valve fails, sanitary flow can reverse into your basement. In older properties, deteriorated clay or cast-iron piping often raises the risk.
During basement sewage backup cleanup, you should treat the cause as a compliance issue, not just a nuisance, because recurring defects can violate local plumbing standards.
You’re not alone in this; many owners in similar buildings deal with the same failure points. A licensed inspection can identify the source, document conditions, and guide corrective action that reduces repeat contamination and odor exposure.
Stop the Sewage From Spreading
Immediately isolate the affected area to limit cross-contamination: shut off HVAC blowers serving the basement, keep people and pets out, and block foot traffic from tracking sewage into clean spaces.
You should seal doors with plastic sheeting and tape, then post clear warnings so everyone in your household knows the zone is restricted.
If wastewater is still entering, close upstream valves or cleanout access only if you can do so safely and without exposure.
Wear gloves, boots, and eye protection before handling any contaminated barrier.
Avoid sweeping or spraying, because that can aerosolize pathogens and spread residues.
Keep clean tools, towels, and supplies outside the perimeter.
Document the boundaries you set, so your cleanup team can maintain containment and restore the home’s safe circulation.
Pump Out Water and Remove Debris
With the area contained, pump out standing sewage and floodwater as soon as conditions allow using a submersible pump, wet vacuum, or extraction truck rated for contaminated water.
You should keep discharge controlled and direct hose flow to an approved containment point. Wear PPE and stay clear of energized equipment.
Once the liquid level drops, hand-remove solids, silt, and soaked debris into lined, sealable containers or heavy-duty bags. Sort materials so you can document what’s been discarded.
- Buckets, insulation, and broken drywall
- Mud, paper products, and sanitary waste
- Furniture fragments and loose flooring pieces
Work methodically from the farthest point toward the exit, so you and your team maintain clear footing and prevent recontamination.
These steps help your crew regain safe access and prepare the space for the next phase.
Clean and Disinfect the Basement
You should remove all sewage residue from floors, walls, and affected fixtures using approved cleaning agents and contamination controls.
You should then disinfect every exposed surface with an EPA-registered product and maintain the required contact time.
After cleaning, you should dry the basement completely and deodorize it to reduce residual moisture and odor risk.
Remove Sewage Residue
Scrub away all visible sewage residue from floors, walls, baseboards, and fixed surfaces before any drying or deodorizing begins.
You’ll work methodically so contaminated film doesn’t stay behind and spread through the basement. Use disposable tools or dedicated cleaning gear, and remove sludge from corners, seams, drains, and equipment bases.
Collect waste in sealed bags or containers per local disposal rules. Keep traffic limited so you and your team don’t track residue onto cleaner areas.
- Corners and wall joints
- Around sump pits and pipe penetrations
- Along thresholds, stair edges, and utility supports
Inspect each surface under strong light after wiping. If residue remains, repeat the removal process until the area meets visible-clean standards.
Disinfect All Surfaces
Apply an EPA-registered disinfectant to all cleaned basement surfaces, including floors, walls, baseboards, steps, and fixed equipment, and keep the surface wet for the full label contact time.
You’ll protect your space by treating every flood-contact area as contaminated until you finish this step.
Read the label for dilution, PPE, and approved materials, then mix the solution exactly as directed.
Use clean mops, cloths, or sprayers to cover seams, corners, and other hard-to-reach areas.
Don’t rinse unless the product label requires it.
If porous materials remain, disinfect only the accessible surfaces and follow the product’s limits.
Keep children, pets, and unprotected helpers out of the area during application.
Dry And Deodorize
Use high-volume air movement and controlled heat to dry the basement as quickly as conditions allow. You’ll keep relative humidity below 60% and verify surface moisture with a calibrated meter.
Remove wet porous materials that can’t meet sanitary standards, then inspect framing, slab edges, and utility chases for trapped moisture. Apply an EPA-registered deodorizing disinfectant where label directions permit, and maintain required dwell time.
- Fans pushing air across concrete, joists, and wall cavities
- Open dehumidifier drains and a monitored condensation hose
- A clean, dry space with no sewage odor at the floor line
You’re restoring a safe environment for your household or crew, and that standard matters. Recheck daily until readings stabilize, then document conditions before reoccupancy.
Dry the Basement to Prevent Mold
After the sewage has been removed, dry the basement immediately to limit microbial growth and secondary damage.
You should run high-velocity air movers across all wet surfaces and maintain dehumidification until moisture readings return to acceptable levels.
Keep doors, vents, and access points arranged to promote continuous air exchange, and remove standing water from sumps, drains, and low spots without delay.
Monitor relative humidity and temperature throughout the drying period; document readings to verify progress and compliance.
Don’t re-energize soaked equipment unless it’s been inspected and cleared.
Wear protective gloves and respirators while you work, and isolate the area so traffic doesn’t spread contamination.
Fast, controlled drying helps you protect your space, reduce odor risk, and stay aligned with sanitary recovery practices.
Check for Hidden Damage in Walls and Floors
Once the basement is dry, inspect walls and floors for concealed sewage damage before you rebuild or restore finishes. You belong in a process that treats every surface as suspect until you verify it’s clean and structurally sound.
Check drywall for swelling, staining, and soft spots; probe baseboards and framing for delamination and odor retention. Examine concrete, tile, and vinyl for cracks, lifted seams, and trapped residue at joints.
Use a moisture meter to compare readings across affected areas and adjoining rooms.
- Behind wall cavities
- Under flooring edges
- At slab-to-wall joints
Mark any compromised material for removal, and document findings for your restoration record. This method aligns your cleanup with prudent health and sanitation practices.
When to Call a Sewage Cleanup Pro
You should call a sewage cleanup pro if you see widespread contamination, standing wastewater, or seepage into walls, floors, or HVAC pathways.
If odors persist, porous materials are saturated, or you can’t verify complete disinfection and drying, DIY measures aren’t enough.
A licensed pro can assess the hazard, contain the affected area, and remove contamination in line with health and safety requirements.
Signs Of Major Contamination
When sewage has spread beyond a small, contained area, the contamination is likely severe and a professional cleanup is warranted.
You’re likely seeing a Class III contamination event if wastewater reaches wall cavities, insulation, or finished flooring. That level means you’re dealing with material that can trap pathogens and moisture, creating regulatory concerns and persistent odor risk.
- Dark stains or residue along baseboards
- Saturated carpet padding or warped trim
- Visible solids, toilet paper, or gray-black water
If you notice these indicators, treat the space as compromised and document the affected area.
Your household deserves a safe, code-conscious response, and a trained crew can assess the extent, protect adjacent rooms, and restore sanitary conditions with proper containment and disposal.
When DIY Isn’t Enough
If sewage has reached wall cavities, insulation, or finished flooring, DIY cleanup usually isn’t enough to control the contamination, moisture, and odor risk.
You should call a sewage cleanup pro when wastewater contacts porous materials, electrical systems, HVAC returns, or structural framing. A qualified team will isolate the area, remove Class 3 contamination, meter moisture, and verify drying with documentation.
They’ll also follow local health and disposal rules, so you stay aligned with code and protect everyone in your home.
If you smell persistent odor, see staining, or can’t confirm complete drying within 24 to 48 hours, don’t push forward alone. You deserve a safe, compliant recovery process, and professionals help you get there with less uncertainty and faster restoration.
Frequently Asked Questions
How Soon Should I Leave the Basement After Sewage Backup?
Leave immediately, ideally within minutes, once you notice sewage backup. You should exit, close the door, and avoid contact; contaminated air and surfaces can expose you, so call professionals right away.
Can I Salvage Furniture Touched by Sewage Water?
You can salvage only hard, nonporous furniture if you disinfect promptly; porous upholstery, cushions, and untreated wood usually must be discarded. You’ll protect your household by following public-health cleanup standards and documenting contamination.
What Protective Gear Is Safest for Cleanup?
You’ll want a full-face respirator, impermeable gloves, goggles, boots, and disposable coveralls; because sewage’s “charm” is rarely worth a hospital visit. You’re protecting skin, lungs, and eyes while you clean.
How Long Does Sewage Odor Usually Linger?
Usually, you’ll notice sewage odor for 1–3 days after complete removal and drying, but porous materials can hold it longer. You should verify moisture is gone, or odor can persist until remediation fully succeeds.
Is My Homeowner’s Insurance Likely to Cover Cleanup?
Usually, you’re covered if the loss is sudden and accidental; you’re not if it’s due to wear, neglect, or excluded sewer backup. You should review your policy, document damage, and contact your insurer promptly.
Final Thoughts
When a drain fails and sewage backs up into your basement, every minute counts. You’ve got to stop the spread fast, pump out contaminated water, scrub and disinfect every impacted surface, and dry the space completely before mold can take hold. If you spot hidden damage or heavy contamination, don’t gamble with your health or code compliance—call a sewage cleanup pro immediately. In this kind of mess, acting slowly can turn a bad backup into a full-blown disaster.