
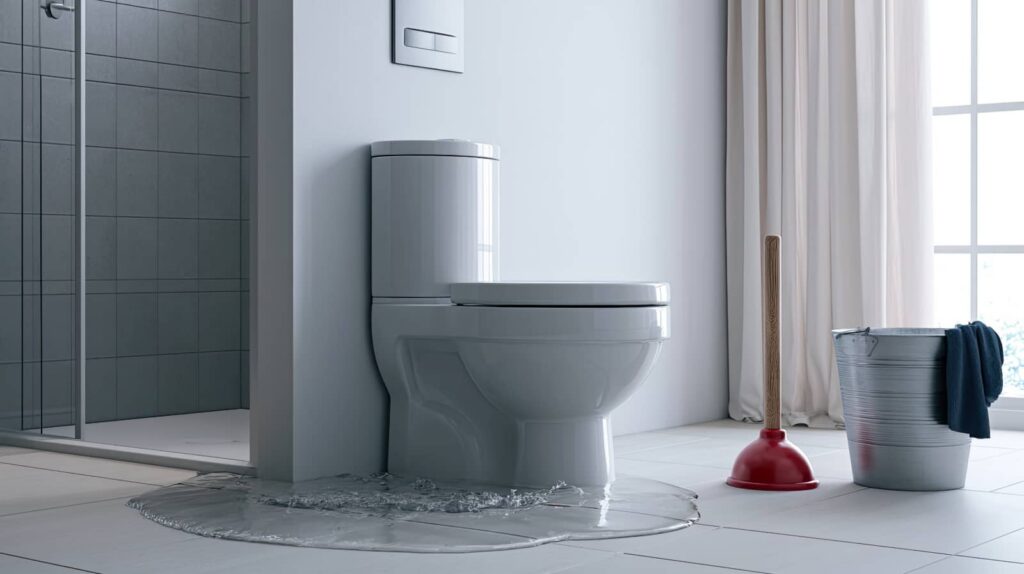
After a basement sewage backup during a storm, you need to treat the water as a biohazard, not a cleanup project. Contaminated Water Cleanup requires PPE, source control, extraction, disinfection, and moisture verification to limit exposure and prevent mold. Porous materials may need disposal, and odor control can signal hidden contamination. The steps look straightforward, but one missed detail can turn a contained incident into a costly health and compliance problem.
Key Takeaways
- Wear chemical-resistant gloves, waterproof boots, eye protection, and an approved respirator when needed; inspect PPE before starting cleanup.
- Shut off the affected water source, document the incident, and warn others to stay out of contaminated areas.
- Pump out standing water, remove soaked debris, and discard porous materials like carpet, padding, and drywall if saturated.
- Clean hard surfaces with detergent first, then disinfect affected floors, walls, fixtures, and cabinets with EPA-registered products.
- Use dehumidifiers, air movers, and moisture meters to dry hidden water, and call professionals for sewage or structural contamination.
Why Sewage and Floodwater Are Hazardous?
Sewage and floodwater are hazardous because they often contain pathogens, chemicals, and debris that can contaminate surfaces, air, and materials on contact.
In contaminated water cleanup, you treat every exposed item as potentially unsafe until you verify otherwise. Microorganisms can enter porous materials, spread through splashes, and persist in hidden moisture.
Chemical residues may corrode surfaces and leave harmful deposits. Silt, glass, and organic waste can also create physical hazards and block effective cleanup.
You reduce risk by recognizing that contamination doesn’t stay localized; it migrates through rooms, fixtures, and building materials.
When you work with your team, you protect shared spaces by using a controlled, compliant approach that supports safe restoration and helps everyone return with confidence.
Protect Yourself Before Cleanup Begins
Before you enter a contaminated area, you must put on the right personal protective equipment and verify that it fits, functions, and matches the hazard level.
Wear chemical-resistant gloves, waterproof boots, eye protection, and, when required, a respirator approved for the exposure. Inspect each item for tears, cracks, or worn seals before use.
Cover cuts with waterproof dressings, remove jewelry, and keep your skin fully covered to reduce contact with sewage or flood residue.
If you’re working with a team, confirm everyone’s PPE is on correctly before anyone starts.
Maintain handwashing supplies and a clean exit path so you can leave the zone without spreading contaminants.
Follow site rules, stay alert, and protect yourself first; that’s how your crew stays safe and effective.
Stop the Water Source
You should stop the source immediately to limit further contamination and property damage.
Shut off the main valve or isolate the affected line if you can do so safely and in accordance with site procedures.
If you can’t control the source quickly, call emergency response or a qualified plumber without delay.
Stop Source Immediately
Immediately stop the water source to limit further contamination, structural damage, and spread of hazardous materials. You need to act at once, document the incident, and warn everyone in the affected area so your team stays aligned and safe.
If water is still entering the space, isolate the source by reporting the condition to the responsible party and restricting access to the zone. Keep personnel out of the impacted area unless they’re trained and equipped for contaminated water response.
This step protects your cleanup plan by preventing additional saturation, reducing airborne hazards, and supporting later compliance checks.
Once the source is controlled, you can move forward with assessment, extraction, sanitizing, drying, and odor control without rebuilding the problem as you work.
Shut Off Valves
Shut off the appropriate valves as soon as it’s safe to do so to stop the water source at its origin.
If you can reach the main supply, close it fully and verify that flow has stopped at faucets, toilets, and appliances.
When the water comes from a localized line, isolate only that branch so you don’t disrupt unaffected areas.
Use the marked shutoff points for your home or facility, and check that each valve turns to the closed position.
If a valve resists, don’t force it; apply steady pressure only within safe limits.
After closure, confirm the area stays dry enough for cleanup to proceed.
Call Emergency Help
Call emergency services or the responsible facility contact right away if the water source can’t be stopped safely at the valve or if the leak is tied to a burst main, sewer backup, or other hazardous condition.
You must report the issue quickly so responders can isolate utilities, confirm hazards, and protect your team from exposure. If you smell gas, hear hissing, or see electrical risk, keep away and wait for trained personnel.
Give the dispatcher your address, the affected area, visible contamination, and whether anyone needs medical help. Stay with your group, keep others out, and follow posted instructions.
Once the source is controlled, you can move into cleanup with the same disciplined, safety-first approach your crew relies on.
Remove Standing Water and Debris
You should pump out all standing water with appropriate equipment to reduce contamination spread and exposure risk.
Remove soaked debris, porous materials, and any visibly contaminated waste in accordance with disposal requirements.
Then clear hidden trapped water from cavities, under flooring, and behind fixtures so you can verify the area’s full dewatering status.
Pump Out Standing Water
Begin pumping out standing water as soon as conditions allow, using appropriate protective equipment and controlled removal methods to limit exposure and prevent further spread of contamination.
You should place the pump intake in the deepest area and discharge water to an approved sanitary location, never into drains that can backflow.
Keep hoses secure so you don’t aerosolize contaminated water or create slip hazards.
Monitor the water level continuously and stop if structural movement, electrical risk, or utility interference appears.
Work in a coordinated way so everyone on your team understands access routes, exclusion zones, and communication signals.
After each pass, check for residual pools and reset the pump only when it’s safe.
This disciplined process helps your crew stay protected, compliant, and ready for the next cleanup step.
Remove Contaminated Debris
Once the standing water is reduced, remove contaminated debris carefully so you don’t spread residue or create additional hazards.
You should wear approved gloves, boots, eye protection, and a respirator if splash or aerosol exposure remains possible.
Bag loose materials, broken drywall, insulation, carpet, and absorbent furnishings in heavy-duty plastic, then seal and label them for proper disposal under local rules.
Use shovels, tongs, and lined carts to limit direct contact and keep your work path controlled.
Don’t drag contaminated items across clean surfaces.
Wipe tools and nearby contact points after each load with a disinfecting solution.
Work methodically with your team, keep access clear, and report damaged structural materials immediately.
Careful removal protects everyone and keeps your cleanup compliant and coordinated.
Clear Hidden Trapped Water
After removing visible debris, inspect for hidden pockets of water trapped in cavities, under flooring, behind baseboards, and inside insulation or wall voids.
You’ll need moisture meters, thermal imaging, and controlled demolition if necessary to locate retained water that can sustain microbial growth.
Pump or extract standing water first, then remove wet materials that can’t be safely dried.
Keep affected zones isolated, label contaminated components, and follow local disposal rules for sewage-impacted waste.
Open access points so air can reach concealed spaces, and run dehumidifiers and air movers until readings confirm dryness.
You’re protecting your crew and your building when you verify every hidden area.
In a compliant cleanup, no pocket of water gets overlooked, because your team deserves a safe, fully restored space.
Disinfect All Affected Surfaces
Disinfect all affected surfaces as soon as the area has been cleared of contaminated water and debris to reduce the risk of microbial growth and cross-contamination.
You should treat floors, walls, baseboards, cabinets, and fixtures with an EPA-registered disinfectant labeled for sewage or flood exposure. Follow the product’s contact time exactly; don’t wipe it off early.
Wear gloves and other required PPE, and work from cleaner areas toward the most contaminated zones to avoid spreading hazards.
If a surface is porous, damaged, or impossible to sanitize fully, remove and replace it under applicable local guidance.
Clean visible residue first, then apply disinfectant evenly to every touched area. This step helps your team meet cleanup standards, protect shared spaces, and restore a safe environment for everyone involved.
Dry the Area Completely
Dry the area completely using air movers, dehumidifiers, and adequate ventilation so no moisture remains in flooring, wall cavities, trim, or contents.
You’ll support compliance and keep your crew aligned by checking hidden spaces and adjusting equipment until readings stabilize. Verify drying at each pass, and document conditions so everyone can trust the process.
- Position air movers to target wet surfaces.
- Run dehumidifiers continuously until levels drop.
- Open vents only when they improve airflow.
- Confirm dryness with meters, then recheck.
Keep traffic out while equipment runs, and don’t reset the area until you’ve confirmed it’s dry.
When you follow the same standard each time, your team stays coordinated, and the cleanup stays controlled, consistent, and defensible.
Discard Porous Materials You Can’t Save
Remove porous materials that contaminated water has soaked through when you can’t reliably clean, sanitize, and restore them.
You should treat carpets, padding, upholstered furniture, insulation, ceiling tiles, and damaged drywall as discard-only when saturation has occurred.
Cut items out with clean tools, keep them sealed from uncontaminated surfaces, and place them in heavy-duty bags or wrapped bundles for disposal per local rules.
Wear gloves, eye protection, and respiratory protection while handling debris, and wash exposed skin right away.
If you’re unsure whether an item can be salvaged, choose disposal rather than risk retaining contamination.
This standard helps you protect your household, limit cross-contamination, and stay aligned with accepted cleanup practices.
Dispose promptly so your team can move forward with safe reconstruction.
Eliminate Odors After Water Damage
Once you’ve cleared out unsalvageable materials, address lingering odors right away because smells often signal remaining moisture, microbial growth, or contamination in hidden areas.
You can’t mask them; you need to remove the source and keep your space safe and compliant. Ventilate the area, run dehumidifiers, and keep surfaces dry to limit odor persistence.
- Clean hard surfaces with an approved detergent and rinse as directed.
- Disinfect only after visible soil is removed.
- Wash or discard affected fabrics that hold odor.
- Use HEPA filtration or odor absorbers to capture airborne residue.
Check hidden cavities, baseboards, and drain zones for dampness.
If the odor returns after drying, treat it as a warning sign and reinspect until the area stays dry, neutral, and ready for your crew.
When to Call a Professional Restoration Team
Call a professional restoration team when contamination, structural saturation, or hidden moisture goes beyond safe in-house cleanup. You should escalate immediately after sewage intrusion, floodwater exposure, mold growth, or any event that affects insulation, subfloors, wall cavities, or HVAC components.
Certified technicians use protective containment, antimicrobial cleaning, extraction, moisture mapping, and verified drying to reduce health and code risks. If you detect persistent odors, warped materials, electrical hazards, or recurring dampness, don’t rely on surface cleaning alone.
A qualified team can document damage, coordinate disposal, and support insurance requirements, so you stay aligned with compliance expectations and your community’s standards. When the scope exceeds your tools, calling a professional helps protect occupants, preserve the structure, and restore a safe, healthy environment.
Frequently Asked Questions
How Can I Tell if Water Damage Reached Hidden Wall Cavities?
You can tell hidden wall cavities were affected by checking baseboards, outlet boxes, or wall seams for swelling, staining, odor, and moisture readings. If you see or smell signs, you should inspect immediately.
What Should I Do With Contaminated Clothing and Personal Items?
You should bag and isolate contaminated clothing and personal items, then launder, disinfect, or discard them per protocol. Don’t mix them with clean goods; use gloves, follow containment rules, and dry thoroughly.
How Long Should I Wait Before Turning Utilities Back On?
You should wait until a qualified electrician, gas technician, or utility company confirms it’s safe. You’ll restore power, gas, and water only after drying, cleaning, and inspecting all affected systems to prevent shock, fire, or contamination.
Can Household Bleach Safely Disinfect All Sewage-Contaminated Surfaces?
No, you can’t rely on household bleach to safely disinfect every sewage-contaminated surface. You must clean first, then use a EPA-registered disinfectant suited to the material, and you’ll need PPE, ventilation, and complete drying.
How Do I Document Damage for an Insurance Claim?
You’ll document every damaged item with dated photos, videos, and notes, then list model numbers, quantities, and repair estimates. Keep receipts and claim forms together; this trail becomes your lighthouse, proving loss and supporting approval.
Summary
When you handle contaminated water cleanup after sewage or flooding, you reduce health risks by acting quickly and following PPE, disinfection, and drying protocols. FEMA reports that mold can begin growing within 24 to 48 hours, so your response time matters. If you cannot fully remove contamination, dry materials to safe moisture levels, or verify sanitation, you should bring in a certified restoration team to ensure compliance and protect occupants.