
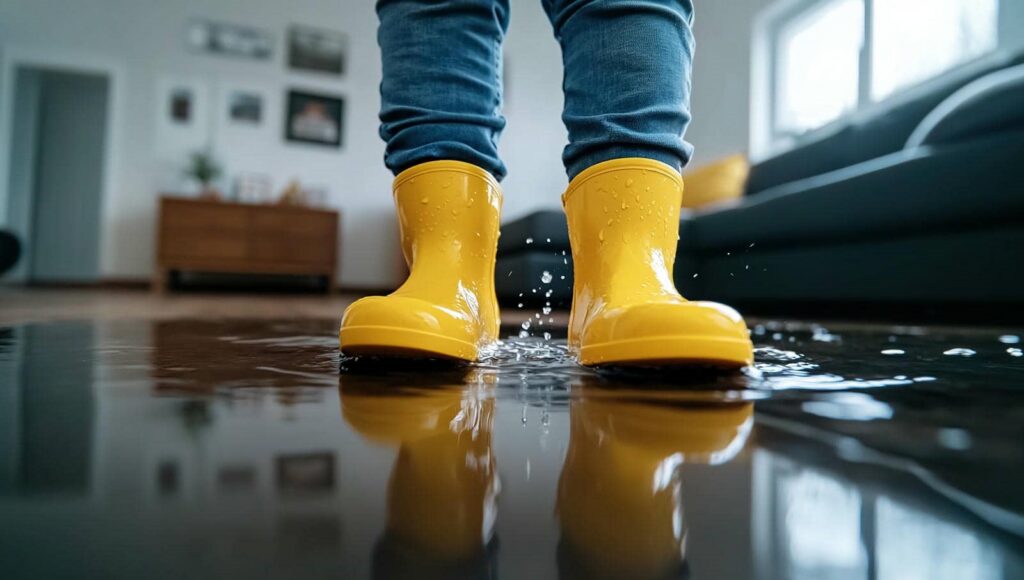
About 40% of flooded homes develop mold within 48 hours, so you need to act fast. During emergency water removal, you first check for electrical hazards and structural damage, then pump out standing water from the lowest areas. Next, you move belongings, increase airflow, and start drying hidden moisture in walls and floors. What happens after that can determine whether your home needs only cleanup or far more extensive repairs.
Key Takeaways
- Inspect the flooded area for structural hazards, electrical risks, gas leaks, and required safety gear before starting.
- Remove standing water quickly using pumps, wet vacuums, or extraction equipment suited to the water depth.
- Work from low areas outward and move furniture and loose items to dry spaces to improve access.
- Use air movers, dehumidifiers, and moisture meters to dry surfaces and confirm safe moisture levels.
- Clean and disinfect affected surfaces, then document damage and repairs for insurance and restoration planning.
Inspect the Flooded House for Safety
Before you enter a flooded house, inspect it for immediate hazards and make sure it’s safe to begin water removal. You check for sagging ceilings, damaged floors, broken glass, exposed wiring, and unstable walls before anyone steps farther inside.
If you smell gas, hear hissing, or see sparks, you leave and call the utility provider right away. You also verify that the main power is off if water has reached outlets or appliances.
Wear boots, gloves, and a mask so you can move with confidence. During emergency water removal for flooded house conditions, this safety review helps protect you and your team while you assess what the structure can support.
When you take these precautions together, you create a safer, steadier start for recovery.
Remove Standing Water Immediately
Once the house is safe to enter, you need to remove standing water as quickly as possible to limit further damage.
Use pumps, wet vacuums, or extraction equipment sized for the water depth and volume. Work from the lowest area outward so you don’t trap water in pockets. Keep electrical equipment away from wet surfaces unless it’s rated for this work.
As you remove water, move furniture and loose items to a dry, secure area so you can reclaim the space together, step by step. If the water is contaminated, wear gloves, boots, and protective gear.
Keep doors open for access and monitor progress often. Fast extraction helps reduce structural stress, limits contamination spread, and gives your cleanup crew a solid start.
Dry Walls, Floors, and Hidden Moisture
With the standing water removed, you need to dry walls, floors, and concealed cavities as quickly as possible to prevent mold growth and material breakdown.
You’ll use high-velocity air movers to push moisture from surfaces, and dehumidifiers to pull vapor from the air. Open baseboards, drill inspection holes when needed, and check behind insulation, under cabinets, and inside wall voids so trapped water doesn’t linger.
Measure moisture with meters rather than guessing, because hidden dampness can stay in framing long after surfaces feel dry. Keep airflow steady and temperature controlled until readings return to safe levels.
This process protects your home’s structure and helps you stay confident that every affected area is drying the right way, with your recovery team working alongside you.
Clean and Sanitize to Prevent Mold
As surfaces dry, you should clean and sanitize every affected area to stop mold and bacteria from taking hold.
Use a detergent wash first, then apply an EPA-registered disinfectant that matches the material and the label’s contact time. Pay close attention to floors, baseboards, cabinets, and any item that touched floodwater.
Wear gloves, eye protection, and an N95 or better if you stir up residue. Change your cleaning cloths often so you don’t spread contaminants from room to room.
Keep windows open or fans running to improve airflow while you work. If you smell mildew, repeat cleaning and sanitation until the odor fades.
Repair the Flood Damage
Start repairs only after the structure is fully dry and safe to enter.
You should inspect framing, drywall, insulation, flooring, and cabinets for warping, swelling, delamination, or hidden rot. Remove materials that can’t regain strength, then replace them with code-compliant products sized to match the original assembly.
If you find damaged wiring, outlets, or HVAC components, bring in licensed professionals before you restore power or airflow.
Seal repaired areas, then prime and finish surfaces to lock out moisture and create a clean, stable result. Document every step with photos and receipts for insurance.
As you rebuild, stay connected with your restoration team so you know what’s next and feel confident in each decision.
Careful repairs help your house become safe, sound, and like home again.
Frequently Asked Questions
How Quickly Should Emergency Water Removal Begin After Flooding?
You should start emergency water removal immediately, ideally within hours, because delays let water soak materials, fuel mold, and worsen damage. Quick action protects your home, speeds drying, and helps you feel supported.
Can Emergency Crews Save Furniture After a House Flood?
Yes, you can often save furniture after a house flood—if you act fast. You’ll need crews to extract water, dry materials, and treat damage. Sofas, tables, and more can sometimes survive the deluge.
What Equipment Is Used During Professional Water Extraction?
You’ll see truck-mounted extractors, portable pumps, wet vacuums, weighted squeegees, dehumidifiers, and air movers. They pull water fast, dry materials efficiently, and help you feel supported while crews reduce further damage and contamination.
Does Insurance Usually Cover Emergency Water Removal Services?
Usually, yes your homeowners policy often covers emergency water removal if a covered event caused the loss. You’ll want to file quickly, document damage, and confirm exclusions, because your deductible and limits still apply.
How Long Does the Full Water Removal Process Take?
Usually, you’ll need a few hours to several days, depending on water depth, materials, and drying conditions. You’ll get faster results when technicians extract water quickly, monitor moisture, and adjust equipment throughout the process.
Recap
When you face emergency water removal, you act fast and stay methodical. You check for hazards, pump out standing water, and move air through the space so moisture can’t linger like a stubborn ghost in a digital age. Then you dry hidden areas, sanitize surfaces, and begin repairs. Each step reduces structural risk and mold growth, helping you regain control of the house. With careful execution, you don’t just remove water you protect the home’s future.