
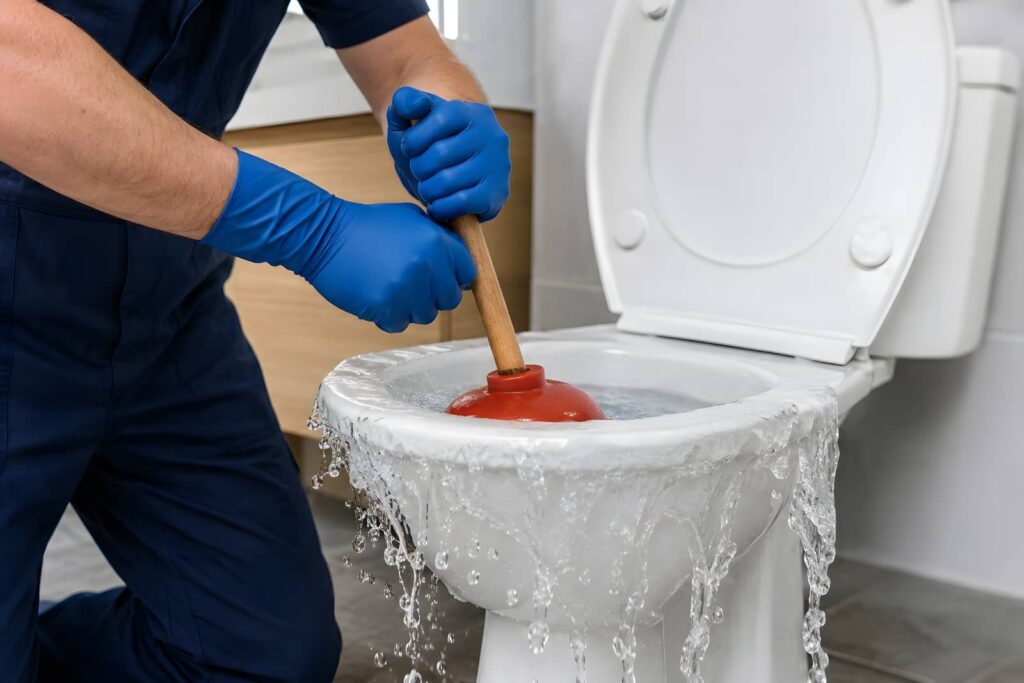
You protect yourself, you stop the source, and you contain the damage before it spreads. The sewage backup cleanup process involves shutting off power, removing contaminated water, discarding ruined materials, and disinfecting every affected surface. Drying, odor control, repairs, and prevention come next, but the real challenge is knowing what to handle now and what needs professional help, because one missed step can change everything.
Key Takeaways
- Shut off electricity and water, keep people and pets away, and wear gloves, boots, eye protection, and a respirator.
- Identify the backup source by checking toilets, drains, cleanouts, and the main sewer line for blockages or pressure.
- Remove contaminated water and sewage-soaked materials quickly, then bag and label all waste for proper disposal.
- Clean hard surfaces with EPA-registered disinfectant, then dry thoroughly with fans and dehumidifiers to prevent mold.
- Inspect for structural damage, replace compromised materials, and schedule professional plumbing repairs and preventative maintenance.
Stay Safe Before You Start
Before you start any sewage backup cleanup, protect yourself first: turn off electricity to the affected area if you can do it safely, avoid direct contact with contaminated water, and wear gloves, boots, eye protection, and a mask or respirator.
You’re not handling this alone; you’re taking the same careful steps pros use to stay safe. Keep children and pets out, and open windows if you can do so without spreading contamination.
Gather sturdy trash bags, disinfectant, paper towels, and a clean bucket before you move anything. If you feel unsure, pause and call a licensed restoration team.
The sewage backup cleanup process starts with safety, because one wrong move can expose you to harmful bacteria and fumes. Stay calm, work methodically, and protect everyone in the space.
Stop the Backup at the Source
First, you need to locate the blockage source so you can stop more sewage from entering the area.
Check the main drain, toilet, or sewer line for the clog, and don’t ignore a recurring overflow.
If you can, shut off the water supply right away to limit further backup and reduce damage.
Locate Blockage Source
To stop a sewage backup at the source, you need to pinpoint where the blockage is forming and what’s causing it. Start by checking the fixture closest to the problem and trace the line back toward the main drain.
Look for slow drains, gurgling sounds, repeated overflow, or wastewater rising in one area. These clues help you narrow the clog’s location fast. If the issue affects multiple fixtures, the main line is likely blocked. If only one drain acts up, the obstruction may be local.
You can also inspect cleanouts for signs of pressure or standing waste. Stay calm and work methodically; when you understand the source, you protect your property and support your team through the next cleanup step.
Shut Off Water
Close the main water supply right away so you can stop more wastewater from entering the system.
Then shut off any fixture valves feeding toilets, sinks, laundry lines, and appliances. If you share the building with others, tell everyone fast so no one turns water back on by habit.
Check the meter or visible piping to confirm flow has stopped. If you can, shut off the water heater too, especially if the backup affects hot lines.
Keep the area clear and dry around shutoff points so you can reach them quickly if conditions change. This step protects your space, reduces spread, and helps your cleanup crew work as one team.
Afterward, document what you turned off, so you can restore service in the right order later.
Remove Sewage and Damaged Materials
Put on protective gear and contain the affected area before you start, so you limit exposure and keep contamination from spreading.
Then extract the sewage and any standing contaminated water with the proper equipment, working methodically across the space.
After that, remove damaged materials that can’t be cleaned and disposed of safely.
Safety Gear And Containment
Before you begin removal, gear up with waterproof gloves, boots, eye protection, and a respirator. Then seal off the affected area to keep sewage from spreading.
Use plastic sheeting and tape to close vents, door gaps, and nearby openings, so your team works in a safer, more controlled space. Remove contaminated items carefully and place them in sturdy bags or lined containers. Keep tools and trash separate from clean areas to protect everyone involved.
- Wear PPE before entering.
- Block airflow and foot traffic.
- Bag damaged materials right away.
Work methodically, and don’t rush past soaked drywall, carpet, or porous contents that can’t be saved.
When you stay disciplined, you help your home or business recover with less stress and a stronger sense of control.
Extract Contaminated Water
Start pumping out the contaminated water as soon as the area is secured, using a wet vac, submersible pump, or truck-mounted extractor to remove standing sewage quickly and safely.
You’ll want to work from the cleanest edge toward the deepest pooling areas, keeping suction steady so you don’t spread contamination. Empty the equipment often and move deliberately so the workspace stays controlled.
If water sits under furniture or in tight corners, angle the hose to reach it without stirring up more debris. Keep everyone clear of the area while you work, and watch for hidden pockets that can resurface.
When the visible water is gone, inspect the surface for remaining sludge so your team can stay aligned and ready for the next step.
Remove Damaged Materials
With the standing water removed, you can begin stripping out sewage-soaked materials that can’t be salvaged. You’ll remove carpet, padding, drywall, insulation, and any porous items that absorbed contamination.
Work methodically, cutting out damaged sections well beyond the visible stain line so you don’t leave hidden waste behind. Place debris in heavy-duty bags or sealed containers, and keep it separate from clean belongings.
If you’re handling this yourself, wear gloves, boots, and respiratory protection, and don’t drag debris through clean areas.
- Bag and label contaminated materials right away.
- Remove unsalvageable items down to clean framing.
- Keep pathways clear to protect your team.
Clean and Disinfect Contaminated Surfaces
Scrub contaminated surfaces thoroughly to remove sewage residue, then apply an EPA-registered disinfectant that’s appropriate for the material.
You’ll work methodically, so each surface gets full contact time and no area gets missed. Use clean cloths, fresh solution, and separate tools for bathrooms, kitchens, and shared spaces to avoid cross-contamination.
Focus on baseboards, cabinets, counters, fixtures, and hard floors, wiping from cleaner zones toward the most affected spots. Rinse only when the label calls for it.
Replace cloths and gloves often, and keep your team aligned on the same steps so everyone stays protected.
When you clean this way, you restore a safer space and help your home or business feel ready for normal use again.
Dry Out the Area Completely
Once the contaminated surfaces are cleaned and disinfected, you need to remove every trace of moisture so mold doesn’t take hold. Open windows if conditions allow, and run fans to move air across floors, walls, and hidden corners.
Set dehumidifiers in the wettest rooms and empty them often so they keep working. If carpeting, insulation, or drywall stayed saturated, check them closely and remove materials that won’t dry fully.
You’ll protect your space and help everyone feel safer when you stay systematic and keep air moving until surfaces feel dry to the touch.
- Lift rugs and furniture pads to speed drying.
- Check baseboards, closets, and under sinks.
- Keep monitoring until humidity drops to normal.
Remove Sewage Odors
After the area is dry, you need to eliminate any remaining sewage odor so it doesn’t linger or signal hidden contamination.
Start by opening windows and running fans to move fresh air through the space. Then apply an enzyme-based cleaner to hard surfaces, following the label exactly.
If the smell persists, use activated charcoal, baking soda, or a HEPA air scrubber to capture airborne particles.
Check hidden spots like baseboards, vents, and corners, since odor can settle there and make the room feel unsafe.
Keep the area ventilated until the smell is gone.
If you still notice a strong sewer odor, stop and call a restoration professional.
When the air smells clean, you can feel confident your space is getting back to normal and welcoming again.
Repair and Replace Damaged Materials
When the odor is gone, inspect the damaged area closely and decide what needs repair or replacement. You’ll protect your space better when you act on every compromised surface with care. Remove warped drywall, soaked insulation, and swollen baseboards that can’t dry fully.
Check flooring, trim, cabinets, and any porous material for staining or soft spots. Replace items that stayed contaminated, and repair anything stable enough to keep.
- Cut out damaged sections cleanly
- Match replacement materials to nearby finishes
- Seal repaired edges before reassembly
Work methodically, and keep the area organized so you and your crew can move with confidence. If structural parts look questionable, bring in a qualified professional.
Good repairs help your home or business feel whole again, and they support a cleaner, safer return to normal.
Prevent Future Sewage Backups
To help prevent future sewage backups, inspect your plumbing system regularly and address small issues before they grow.
Check drains, toilets, and cleanouts for slow flow, gurgling, or odors, and call a plumber when you notice changes.
Keep grease, wipes, and hygiene products out of the system, and use drain strainers to catch debris.
Schedule professional sewer line inspections if you’ve had repeated backups or older pipes.
During heavy rain, make sure sump pumps, backwater valves, and exterior drains work properly.
Maintain nearby trees and roots, since they can invade lines.
After cleanup, keep records of repairs and service dates so you can plan ahead.
When you stay proactive, you protect your home or business and join others who value a safe, well-kept property.
Frequently Asked Questions
How Do I Document Sewage Damage for Insurance Claims?
Photograph every damaged area, item, and cleanup stage, then list dates, times, and losses. Save receipts, contractor reports, and correspondence. You’ll strengthen your claim when you organize everything chronologically and submit copies quickly.
Can HVAC Systems Spread Sewage Contamination Through the Building?
Yes, your HVAC system can spread sewage contamination by moving airborne particles and odors through ducts. You should shut it off, isolate affected areas, and let professionals inspect, clean, sanitize, and verify safety before restart.
How Long Does Sewage Cleanup Usually Take to Finish?
Usually, you’ll finish cleanup in 1–3 days for small spills, but larger damage can take a week or more. You’ll spend time removing waste, sanitizing, drying, controlling odors, and making repairs.
When Should I Call a Licensed Plumber Versus a Restoration Company?
Call a licensed plumber when the backup seems mechanical, recurring, or involves your main line; call a restoration company when contamination spreads, odors linger, or you need cleanup, sanitizing, drying, and repairs.
Are Electronic Devices Salvageable After Sewage Exposure?
Yes, sometimes—you can save electronics if you power them off immediately, avoid use, and have a pro inspect, clean, and dry them. If sewage reached circuits, you’ll often need replacement for safety.
Wrap-Up
When a sewage backup hits, you often face the mess at the worst possible moment—and that’s no coincidence. By staying safe, stopping the source, removing contaminated materials, disinfecting thoroughly, drying completely, and repairing damage, you give your home or business the best chance to recover fast. Don’t skip prevention, either: routine plumbing checks and smart habits can spare you a repeat disaster. Act methodically now, and you’ll protect both your property and your peace of mind.