
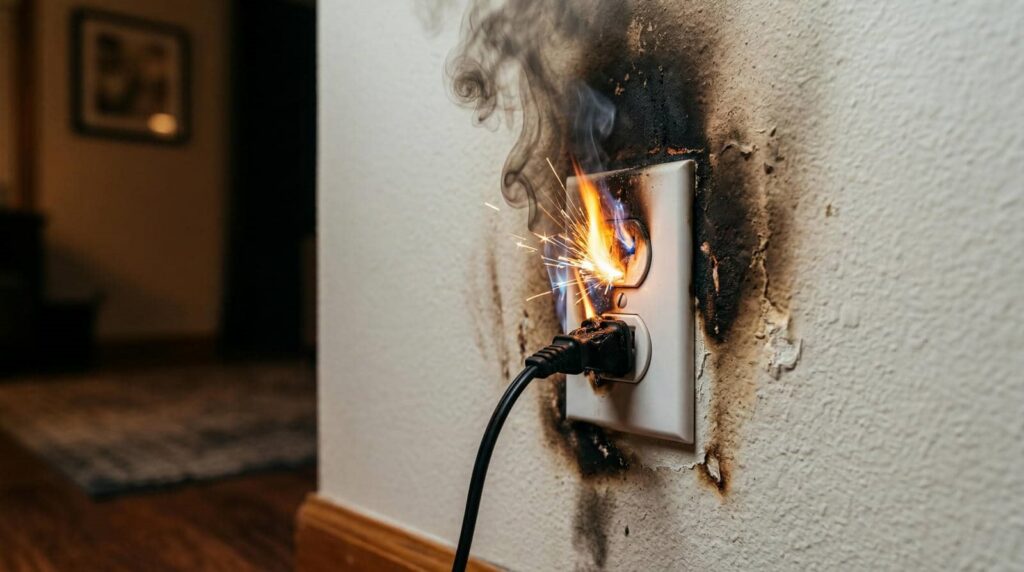
After a stovetop flare-up leaves your cabinets smoky and the floor soaked from suppression, Kitchen Fire Cleanup needs to begin quickly. You’ll first secure the area, then assess water, soot, and odor damage before it spreads. From there, you can decide what’s salvageable, what needs replacement, and when structural repairs are necessary. The right restoration steps can limit loss, but the next few hours matter most.
Key Takeaways
- Ensure everyone is safe, contact emergency services if needed, and notify your insurance provider immediately.
- Document all visible damage with photos and notes before starting cleanup.
- Contain the affected area, extract standing water quickly, and dry the space to prevent mold.
- Remove soot using HEPA vacuuming and appropriate cleaners, then address smoke odors with ventilation and odor treatment.
- Inspect for structural damage and replace heat- or smoke-damaged materials; hire an IICRC-trained restoration company.
What to Do First After a Kitchen Fire
After a kitchen fire, you should first make sure everyone is safe, then call emergency services if the fire isn’t fully out or if there’s any chance of rekindling.
Once you’ve confirmed safety, contact your insurance carrier and begin documenting visible damage with photos and notes.
Close off the affected area to limit soot spread, but don’t disturb residues on walls, cabinets, or appliances.
Then arrange fire damage restoration after kitchen fire so trained technicians can assess smoke infiltration, grease contamination, and odor absorption. Their prompt response helps protect your home’s structure and your family’s comfort.
Keep receipts for temporary meals and supplies, because they support your claim.
You’re not handling this alone; a coordinated recovery plan can restore order, reduce stress, and guide you through each next step.
How to Make a Burned Kitchen Safe
To make a burned kitchen safe, you need to eliminate immediate hazards before you resume cleanup. Turn off gas, electricity, and appliances only if you can do so without entering risky areas.
Wear gloves, long sleeves, eye protection, and a respirator to reduce contact with soot and sharp debris. Remove unstable items, shattered glass, and metal cookware with care.
Ventilate the room by opening windows and using fans if the structure is intact. Keep children, pets, and other occupants out until you’ve checked for hidden heat, damaged wiring, and compromised cabinets.
If walls, ceilings, or fixtures look warped, call a qualified restoration pro. You’re not handling this alone; safe, steady steps help your kitchen become usable again.
Drying Water Damage After Firefighting
After firefighting, you should extract standing water quickly with pumps, wet vacs, and absorbent tools to reduce saturation in floors, cabinets, and wall cavities.
Then you’ll use controlled airflow, dehumidification, and moisture monitoring to dry the structure to safe target levels.
This process helps you prevent swelling, mold growth, and hidden moisture damage that can complicate restoration.
Water Extraction Steps
Once the fire is out, you still need to remove the water firefighters left behind before hidden moisture triggers mold, warped cabinets, and structural damage.
You start by identifying standing water in sinks, toe kicks, floor seams, and beneath appliances. Then you shut off power to affected circuits and use a wet vac, pump, or extraction machine to pull water from hard surfaces and saturated materials.
You also lift removable mats and base panels so trapped moisture can’t linger. After visible water is gone, you wipe residues from countertops, cabinet interiors, and flooring edges to reduce contamination.
Careful extraction helps you protect your kitchen, limit corrosion, and prepare the space for the next phase of cleanup. You’re not handling this alone; precise work brings your home back safely.
Structural Drying Process
With the standing water removed, you can start structural drying to pull hidden moisture out of cabinets, subfloors, framing, and wall cavities before it leads to swelling, mold growth, or long-term deterioration.
You’ll use air movers and dehumidifiers to create balanced airflow and controlled humidity, so moisture leaves materials efficiently. Technicians place equipment to target saturated zones, including toe kicks, baseplates, and wall cavities opened during cleanup.
They monitor temperature, humidity, and moisture readings to verify progress and adjust setup as needed. This process helps stabilize your kitchen after firefighting, reducing the strain on building materials and supporting a safer restoration path.
When your home’s structure dries correctly, you can move forward with confidence, knowing the space is being brought back to a dependable condition.
Moisture Damage Prevention
As firefighting water sits in a kitchen, you need to dry it quickly to prevent swelling, warping, and mold growth in cabinets, flooring, and wall materials.
You should remove standing water, then use air movers and dehumidifiers to pull moisture from hidden cavities, toe kicks, and subfloors.
If you belong to a restoration team, you know fast source control matters: open affected assemblies, monitor humidity, and verify moisture readings until materials return to safe levels.
Pay close attention to particleboard, drywall, and insulation, since they absorb water fast and can hold odors and contaminants.
When you act early, you protect the structure, reduce repair costs, and keep your kitchen on the path to full recovery with confidence.
Removing Soot and Grease Residue
Soot and grease after a kitchen fire cling to surfaces fast, so cleanup starts with careful assessment and the right containment measures. You should isolate affected zones, wear proper PPE, and test surfaces before cleaning.
Use dry methods first, such as HEPA vacuuming and gentle sponging, to lift loose soot without grinding it in. Then apply a suitable alkaline cleaner or degreaser matched to the finish, and work from top to bottom so residue doesn’t spread. Change cloths often, rinse as needed, and dry each area fully.
If cabinets, tile, or appliances have porous damage, you may need specialized restoration to prevent staining. With the right approach, you can restore your space safely and help your kitchen feel like home again.
How to Remove Smoke Odors
Once you’ve cleared soot and grease, you still need to address the smoke that seeped into walls, cabinets, fabrics, and HVAC components.
You should ventilate the space, run HEPA air scrubbers, and replace HVAC filters right away.
Clean hard surfaces with a smoke-neutralizing solution, then follow with an odor-blocking rinse.
Launder washable textiles in hot water with an enzyme detergent, and dry them fully.
For porous materials, use activated charcoal, baking soda, or ozone treatment only when the product instructions and safety guidelines allow it.
Seal lingering odors in painted surfaces with an appropriate primer after they’re fully dry.
You don’t need to tackle every step alone; a careful, methodical approach helps your home feel clean, safe, and welcoming again.
Fire Damage Restoration for Cabinets
You’ll often find that cabinets hold smoke damage in their finish, hardware, and interior surfaces after a kitchen fire.
You can remove grease residue with targeted cleaning methods that protect the wood, laminate, or paint while restoring a safe, usable surface.
If damage is deeper, you’ll need repairs or replacement to return the cabinets to proper condition.
Cabinet Smoke Damage
Even if the flames never reached the cabinetry directly, smoke from a kitchen fire can penetrate wood, laminate, and finish layers, leaving behind discoloration, odor, and residue that standard cleaning won’t fully remove.
You’ll need a careful restoration plan to protect both appearance and indoor air quality.
- Inspect each cabinet surface for hidden soot in seams, hinges, and joints.
- Use targeted cleaning methods matched to the cabinet material so you don’t spread contamination.
- Seal lingering odor after cleaning if smoke has absorbed into porous components.
When you act quickly, you reduce permanent staining and help your kitchen feel safe again.
You’re not dealing with this alone; a trained restoration team can guide you through each step with precision, respect, and steady support.
Grease Residue Removal
Grease residue from a kitchen fire can cling to cabinet surfaces, attract soot, and leave a sticky film that ordinary household cleaners won’t fully lift. You need targeted degreasing, controlled agitation, and microfiber extraction to remove it without driving contaminants deeper into wood grain or finish.
Start by testing a pH-balanced cleaner on a hidden area, then work from top to bottom in small sections. Use fresh cloths often so you don’t redistribute residue.
If smoke has mixed with oil, you may need a solvent-safe cleaner and multiple passes. Dry each cabinet fully to prevent swelling, warping, or finish failure.
When you follow this process, you protect your cabinets, restore a cleaner feel, and move your kitchen closer to normal again.
Cleaning Appliances and Countertops
After a kitchen fire, appliances and countertops need careful cleaning to remove soot, smoke film, and greasy residue without spreading contamination. You’ll protect finishes by turning off power, letting surfaces cool, and using dry HEPA vacuuming before any wet cleaning.
Use pH-neutral degreaser on stainless steel, glass, and sealed stone, then wipe with microfiber cloths and clean water. Don’t oversaturate seams, control panels, or electrical openings.
- Test products on a hidden spot first.
- Rinse and dry each surface completely.
- Replace filters, drip trays, and removable parts.
If odors linger, repeat cleaning in short passes rather than scrubbing hard. You’re not alone in this process; a methodical approach helps your kitchen feel safe, orderly, and ready to use again.
When You’ll Need Structural Repairs
When heat has warped framing, cracked drywall, or damaged cabinets beyond surface cleaning, you’ll need structural repairs to restore safety and function.
You should inspect for sagging ceilings, separated joints, and distorted trim, because these signs often mean hidden weakness. A qualified restoration team can assess load-bearing elements, verify alignment, and stabilize affected areas before finishing work begins.
You’ll also want repairs when fire or suppression water has compromised fasteners, subfloors, or wall assemblies, since these conditions can reduce integrity over time.
By addressing structural issues early, you protect your home’s performance and make the space ready for your household again.
With the right team, you’re not managing this alone—you’re rebuilding a kitchen that feels secure, sound, and fully yours.
What Materials Need Replacing
Once structural damage is ruled out, the next step is identifying which kitchen materials can’t be salvaged. You’ll usually replace porous items that absorb smoke, grease, and moisture beyond cleaning limits.
Cabinets with swollen particleboard, charred trim, and warped doors often lose stability. Insulation, drywall, and ceiling panels with soot saturation or persistent odor also need removal.
If wiring jackets, outlets, or appliance components show heat exposure, they shouldn’t stay in service.
- Porous cabinets and shelving
- Smoke-damaged drywall and insulation
- Heat-exposed electrical or appliance parts
You deserve a kitchen that feels safe and familiar again, and replacing compromised materials helps you get there.
Careful removal prevents lingering odors, hidden contamination, and repeated repairs later.
How to Choose a Fire Restoration Company
Choosing the right fire restoration company means looking for a team that can assess smoke, grease, and heat damage accurately and restore your kitchen without cutting corners.
You should verify IICRC training, 24/7 response, and proven kitchen-fire experience. Ask whether they document damage, test air quality, and remove soot from cabinets, walls, and ductwork.
A reliable crew will explain containment, odor treatment, cleaning methods, and replacement decisions in plain terms. You deserve a company that coordinates with your insurer, protects your belongings, and keeps you informed at every step.
Check reviews for punctuality, respect, and thoroughness, since those traits show real care.
When you choose a skilled, communicative team, you’re not just fixing damage; you’re joining neighbors who value safety, restoration, and a home that feels whole again.
Frequently Asked Questions
How Long Does Kitchen Fire Cleanup Usually Take?
You’ll usually need a few hours to several days, depending on smoke, grease, and structural damage. You can expect technicians to clean surfaces, deodorize, and repair affected areas, restoring your home safely and efficiently.
Can I Cook in the Kitchen After Minor Smoke Damage?
Maybe, but not yet—if smoke smells linger, surfaces feel sticky, or ventilation’s weak, you shouldn’t cook. You’ll want to clean residues, inspect cabinets, and clear odors first, so your kitchen feels safe again.
Will Insurance Cover Professional Fire Damage Restoration Costs?
Usually, yes, if your policy covers fire and smoke loss. You’ll need prompt documentation, adjuster approval, and itemized estimates. You can work with restoration pros to protect coverage and speed your claim.
Do I Need to Replace Food After a Kitchen Fire?
Yes you should replace food; smoke and heat don’t improve pantry flavor. You’ll need to discard anything exposed, perishable, or sealed in damaged packaging, then verify salvageable items with your insurer or a restoration professional.
Is It Safe to Stay in the Home During Restoration?
You can stay only if professionals confirm air quality, structural safety, and no active hazards; otherwise, you’ll need temporary housing. You should follow their containment plan, ventilate affected areas, and avoid entering restricted spaces.
Final Thoughts
After a kitchen fire, you need to act fast: make the area safe, dry any water, remove soot and grease, and neutralize smoke odors before they set in like a Renaissance alarm bell. You should inspect appliances, countertops, and hidden cavities for damage, then replace compromised materials and repair structural issues as needed. By choosing an IICRC-certified restoration company and coordinating with your insurer, you’ll restore safety, function, and peace of mind.